How to Create Custom Icons on iPhone
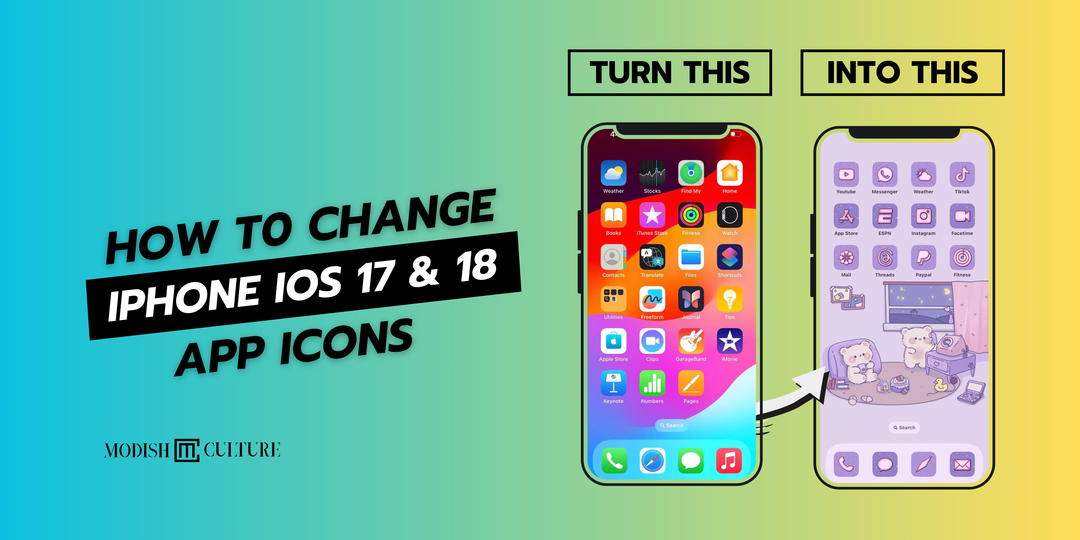
Customizing your iPhone’s home screen with unique app icons is an exciting way to showcase your personal style. With iOS 18, Apple continues to offer personalization options through the Shortcuts app. Follow this detailed guide to transform your home screen into a reflection of your individuality.
Prepare Your Custom Icons
Before you begin, ensure you have the custom icons you want to use. You can download these from various websites or design them yourself. Save the icons to your Photos app or Files app for easy access.
Step 1: Open the Shortcuts App
- Open the Shortcuts app on your iPhone. If it’s not already installed, download it from the App Store.

Step 2: Create a New Folder (Optional)
Creating a folder helps keep your custom icons neatly organized in a single location.
- In the Shortcuts app, tap the Folder+ icon in the top-right corner to create a new folder.
- Rename the folder and choose an icon for it.
- Tap Add to save.
- Open the folder you just created.

Step 3: Create a New Shortcut
- Tap the + icon in the top-right corner to start creating a new shortcut.
- Tap Add Action.

Step 4: Add the “Open App” Action
- Use the search bar to find the Open App action.
- Select Open App from the search results.
- Tap the blue text App and choose the app you want to customize.

Step 5: Customize the Shortcut Icon
- Tap the shortcut’s name at the top center to rename it.
- Tap Add to Home Screen.
- Under the Home Screen Name and Icon section, tap the icon placeholder.
- Choose Choose Photo to select your custom icon from the Photos app.
- Once selected, tap Add in the top-right corner. Your new shortcut with the custom icon will now appear on your home screen.
- Return to the Shortcuts app and tap Done to save the shortcut.


Step 6: Hide the Original App Icon (Optional)
- On your home screen, locate the original app icon.
- Press and hold the icon until a menu appears, then select Remove App.
- Choose Remove from Home Screen to move the app to the App Library while keeping it accessible.
Step 7: Repeat for Other Apps
Repeat the above steps for every app you want to customize with a unique icon.
Step 8: Additional Icon Customization Options
To further personalize your Home Screen in iOS 18, consider the following customization options:
-
Use Custom Widget Styles:
- Some apps offer custom widget themes or styles that can complement your icon designs.
- Check the settings within those apps for more options.
-
Adjust Icon Size:
- Tap ‘Large’ to make icons bigger.
- Note that app names disappear in this size.
-
Change Appearance:
- Tap ‘Dark’ or ‘Light’ for a dark or light appearance for all icons and widgets.
- Use ‘Automatic’ to switch appearances based on the time of day.
-
Add a Color Tint:
- Tap ‘Tinted’ and use sliders to adjust the color and saturation of all icons and widgets.
- You can also use the eyedropper to pick a color from your wallpaper.
Ensure your software is updated to iOS 18 or later to access these features.

5. Reorganize Widgets
- Drag and drop widgets to arrange them around your icons, creating a balanced layout.
6. Stack Widgets
- Combine multiple widgets into a Smart Stack by dragging one widget onto another.
- Swipe through them easily for better functionality.
Tips for a Seamless Experience
- Consistency: Use icons from the same pack or creator for a cohesive look.
- Backup: Save a copy of your custom icons for future use.
- Organization: Create folders in the Shortcuts app to group your custom shortcuts and keep your home screen tidy.
Customizing your app icons is a creative way to make your iPhone truly yours. With a little effort, you can transform your home screen into a visually stunning and uniquely personalized space.
Enjoy your new personalized home screen!





Leave a comment